Remove Powered by Ghost Branding from self hosted Ghost cms


Are you searching for a guide to eliminate the 'Powered by Ghost' branding from your self-hosted Ghost blog? If so, you've landed on the right page. But first, a word of caution:
Ghost Version Information

This guide is exclusive for users of the self-hosted Ghost CMS. 🤓 If you're curious about self-hosting Ghost CMS on your server or want recommendations for affordable hosting options, don't hesitate to reach out.
Affordable Self-Hosting with Hetzner:
Good news?
The self-hosted version won't burn a hole in your pocket.
My server cost is just about €6/month.
I'm using Hetzner for hosting.
Hetzner Free €20 credit
Ways to Remove Ghost Branding:
- Hide branding through Code Injection : While feasible, it's not recommended because this only masks the branding in the front-end; it remains visible in the HTML source code.
- Update the source file to delete Ghost branding : This is the recommended method, and what we'll focus on below.
Steps to Remove 'Powered by Ghost' Branding:
Step 1: Begin by launching your Ghost blog admin dashboard in your browser.
Step 2: Click on the settings icon, located at the bottom left corner of your dashboard.

Step 3: Within settings, select the 'design' option.
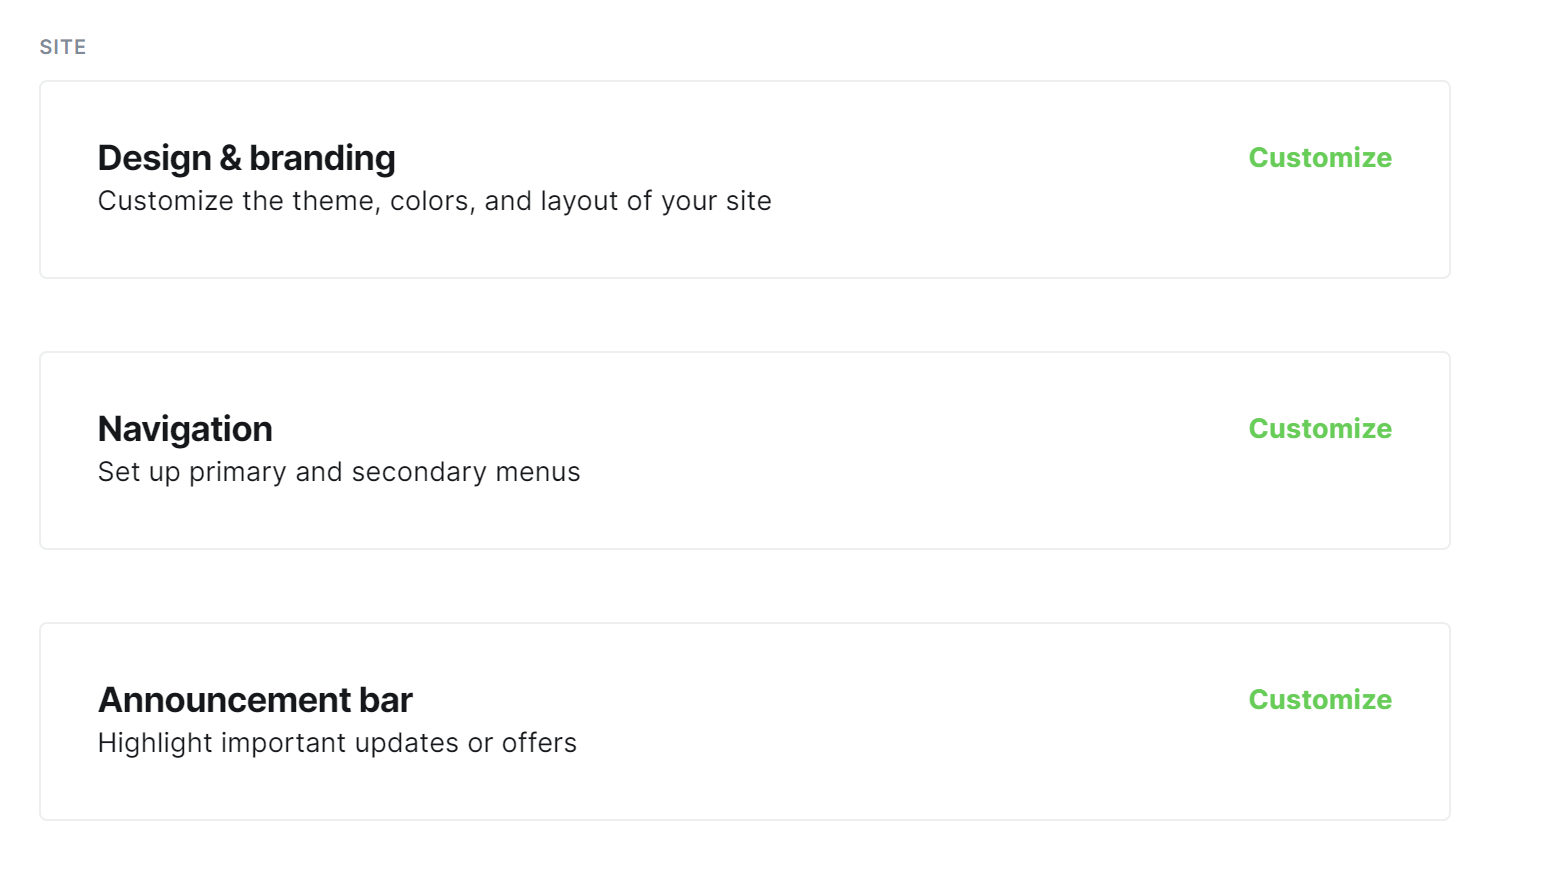
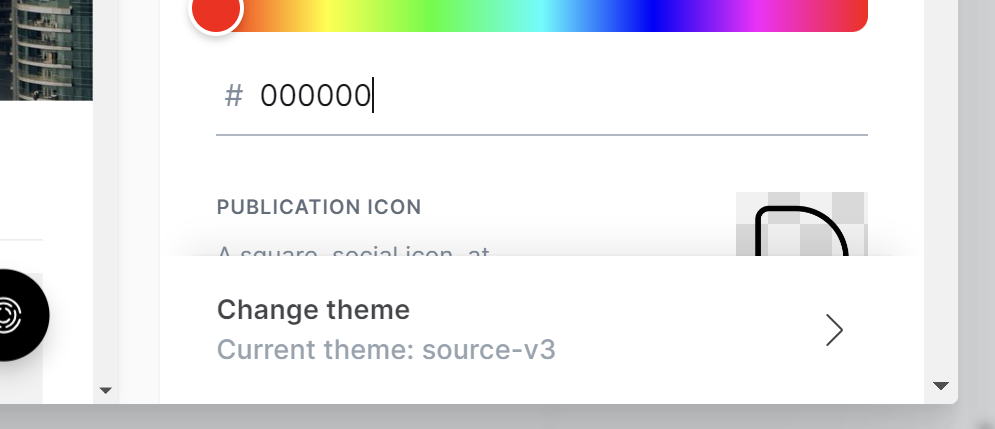
Step 4: Click on the 'Change Theme' button found on the bottom right .
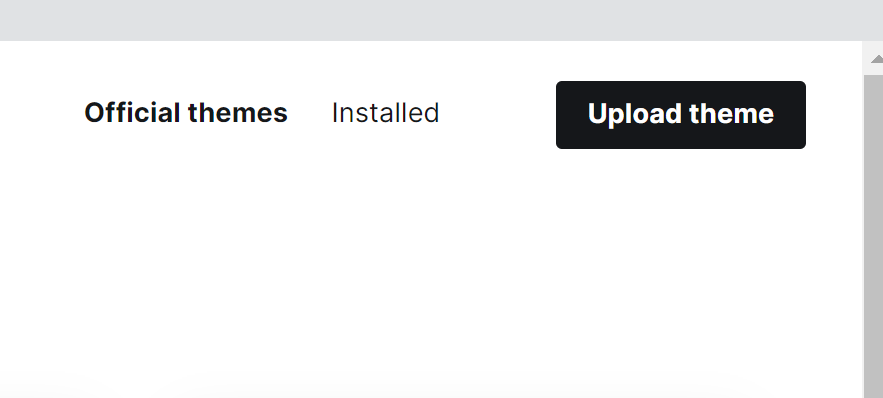
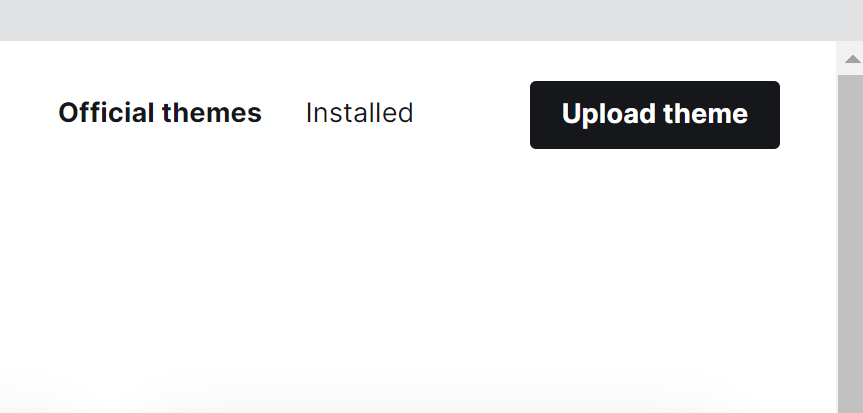
Step 5: Opt for the 'installed' button, positioned in the top right corner.
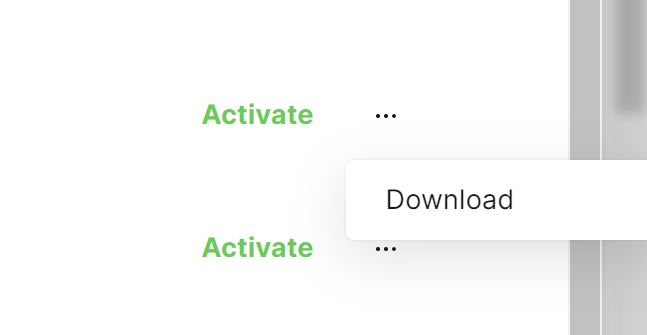
Step 6: Choose the theme you wish to tweak. Click on the three-dot icon next to it and download the theme.
Step 7: Once downloaded, unzip the file and access the footer.hbs file within.
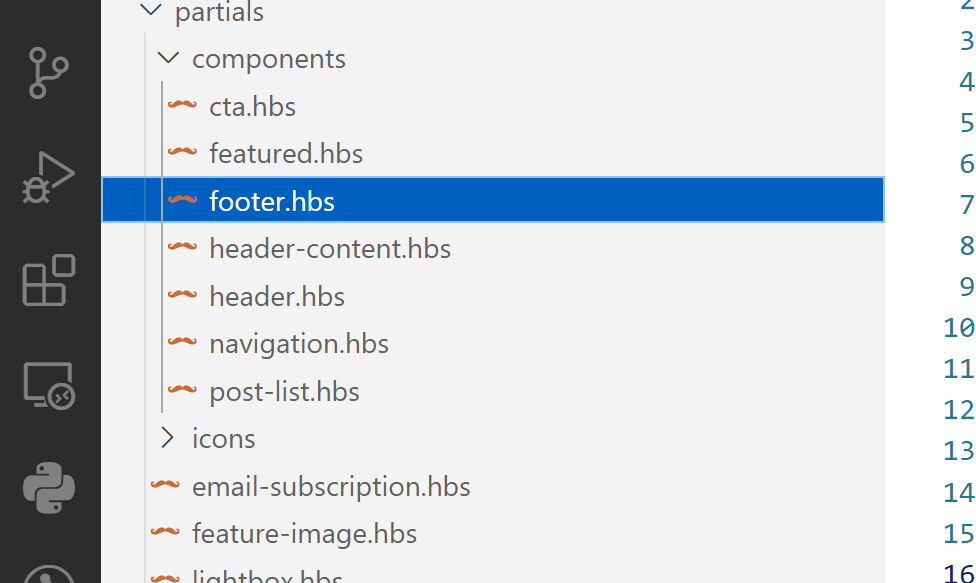
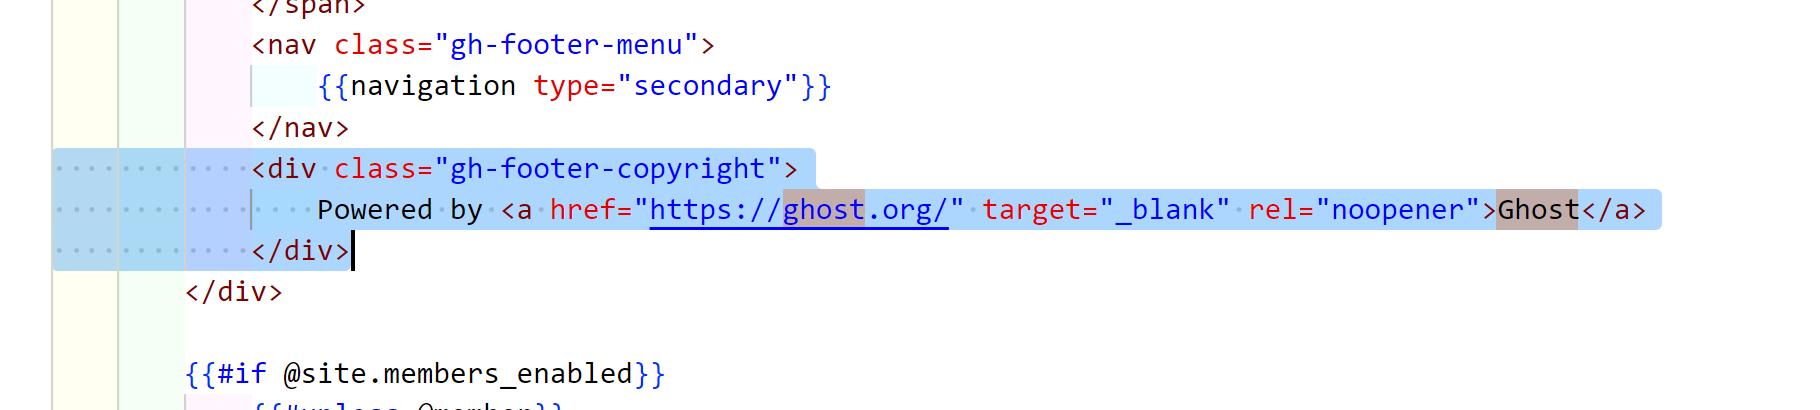
Step 8: Search for the branding section in the file; it's typically towards the end.
Step 9: Eliminate the highlighted branding line and save your changes.
Step 10: Create a new zip file of the modified theme folder. For Windows users: Right-click on the folder and select 'Compress to ZIP file'.
Step 11: Rename the zip file by adding '-custom' at the end. For instance, if it's named 'casper.zip', change it to 'casper-custom.zip'. 👽 Remember, renaming is crucial! Without this step, you won't be able to reinstall the theme.
Step 12: Revisit your Ghost CMS in the browser and click on 'Upload theme'. Here, upload the renamed zip file.
Step 13: Once uploaded, a pop-up will confirm the successful upload. Simply hit 'activate', and voilà! The Ghost branding is now a thing of the past for your self-hosted Ghost blog.
😀 Encountering any hiccups? Please share your concerns in the comment section. I'm here to assist, and will get back to you at the earliest.
Happy blogging!
![[Solved] ZlibError:zlib:
unexpected end of file - payload](/content/images/size/w600/2024/02/Screenshot-2024-02-18-143905.png)